Quven
Quven'%3e%3cpath%20d='M0%200v40h60V0z'%20fill='%23012169'/%3e%3cpath%20d='M0%200l60%2040m0-40L0%2040'%20stroke='%23fff'%20stroke-width='8'/%3e%3cpath%20d='M0%200l60%2040m0-40L0%2040'%20clip-path='url(%23d)'%20stroke='%23C8102E'%20stroke-width='5'/%3e%3cpath%20d='M30%200v40M0%2020h60'%20stroke='%23fff'%20stroke-width='13'/%3e%3cpath%20d='M30%200v40M0%2020h60'%20stroke='%23C8102E'%20stroke-width='8'/%3e%3c/g%3e%3c/svg%3e)


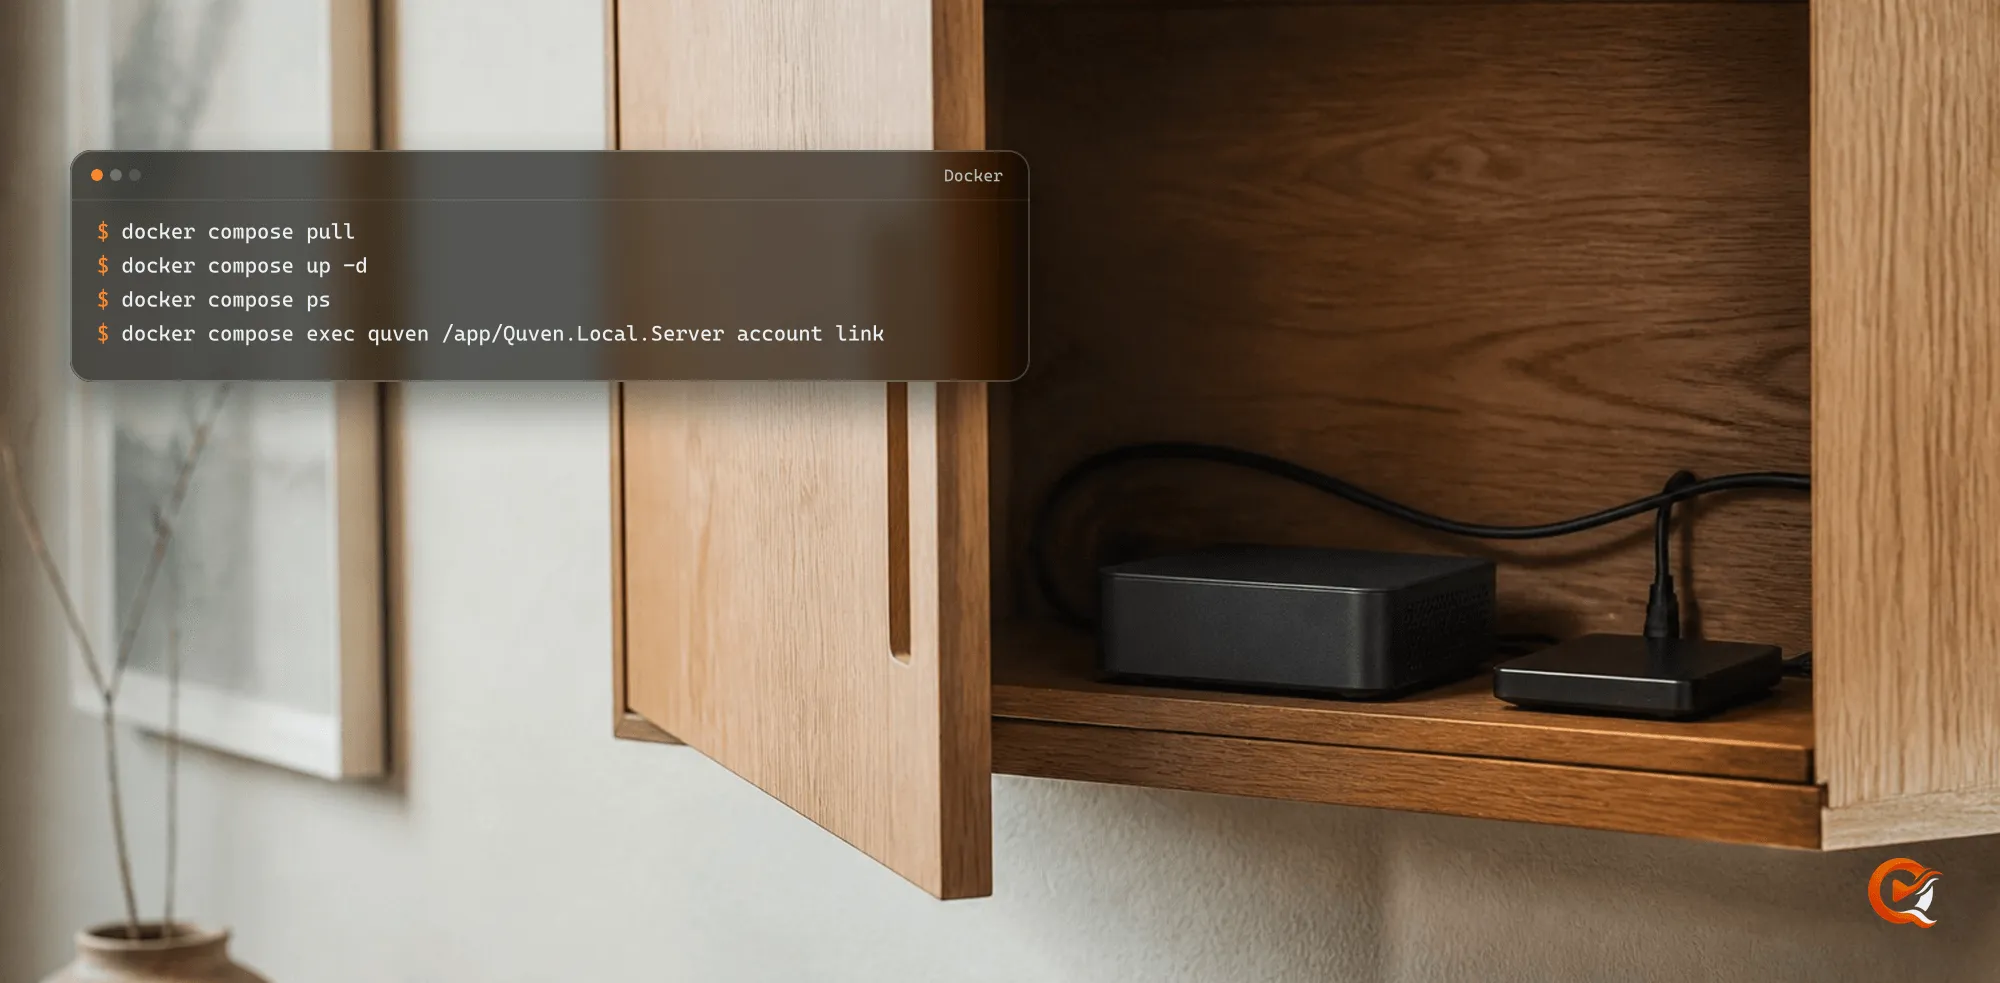
The official Quven Server image runs on Linux AMD64 and ARM64. This is the Server-only edition: it has no desktop client and doesn’t host the web app. These steps take you from an empty directory to a linked server, then through the GPU profiles and upgrades.
Requirements
| Requirement | What Quven expects |
|---|---|
| Host | Linux on AMD64 or ARM64 |
| Container runtime | Docker Engine with Docker Compose v2. Docker Desktop isn’t supported |
| Network | Host networking, so the apps find the server on the LAN |
| Library | A folder the container’s user, uid 10001, can write to, or a read-only mount |
| Hardware acceleration | Optional: the NVIDIA Container Toolkit, an Intel or AMD render node, or a V4L2 device on ARM |
Docker Desktop can’t offer host networking or LAN discovery, which is how Quven reaches its clients. A modest machine is enough, and the self-hosted media server guide explains when a graphics card starts to matter.
1. Download the Compose files
mkdir -p quven && cd quven
curl -fsSLO https://quven.tv/docker/1.5.7/compose.yaml
curl -fsSL https://quven.tv/docker/1.5.7/env.example -o .env
Open .env and set QUVEN_MEDIA_DIR to the absolute path of your library. Leave the image on ghcr.io/nickayl/quven:latest: a version number there holds the server on the release it names, where none of the later corrections can reach it.
The quven-data volume holds the database, the configuration and the logs, so you can recreate the container without losing them.
2. Start it and link your account
docker compose config
docker compose pull
docker compose up -d
docker compose ps
curl --fail --silent --show-error http://127.0.0.1:5181/health/container -o /dev/null
docker compose exec quven /app/Quven.Local.Server account link
Open the URL that account link prints, sign in to your Quven Account and approve the server. Native clients find it on the LAN, or you can point them at http://<server-ip>:5181. With Pro, app.quven.tv reaches it through the managed relay as well.
The image runs as UID/GID 10001, drops Linux capabilities, blocks privilege escalation and keeps its root filesystem read-only. Don’t turn the service into a privileged container to get around a host permission problem.
3. Add a library
Libraries are added from the Quven desktop app on any computer on the same network, or from app.quven.tv with Pro. Phones and televisions can’t create them, so a server that only meets a television client stays empty.
When the app asks for folders, pick them below /media: a host library at /srv/media shows up inside Quven as /media.
Library permissions
Your media is mounted writable, because Quven writes the subtitles it generates beside the film, and the covers of books and albums when you ask for them, so the folder has to be writable by uid 10001. Without write access the copy fails with a warning in the server log, and the subtitle still plays from Quven’s own store in the data volume.
To keep the server from ever writing into the library:
echo 'QUVEN_MEDIA_READ_ONLY=true' >> .env
docker compose up -d
You only give up the copy that travels with the file if you move it.
A library built out of links
Quven follows symbolic links inside a library, as long as the container sees the target at the path the link names. A link reading /mnt/decypharr/film.mkv is unreachable inside a container that was only given /media. Mount the target under the same path, in the same service, beside the media mount:
volumes:
  - type: bind
    source: /mnt/decypharr
    target: /mnt/decypharr
Check what the container can read before scanning a whole library:
docker compose exec quven ls /mnt/decypharrHardware acceleration
Play one title on the base service first, since that proves the network, the library and the account path before a GPU enters the picture. Then add one override, the one that matches an interface you’ve seen on the host. The options are alternatives: don’t combine them, except where the Raspberry Pi profile asks for the V4L2 base.
NVIDIA
With the NVIDIA Container Toolkit installed:
curl -fsSLO https://quven.tv/docker/1.5.7/compose.nvidia.yaml
docker compose -f compose.yaml -f compose.nvidia.yaml config
docker compose -f compose.yaml -f compose.nvidia.yaml up -d
The 1.5.7 profile asks for the GPU with runtime: nvidia, which every Compose release accepts once the Container Toolkit has registered its runtime:
nvidia-ctk runtime configure --runtime=dockerA host set up for CDI instead of that runtime drops that key and asks with gpus: all, which older Compose releases reject. Keep NVIDIA_DRIVER_CAPABILITIES as published: without the video capability the driver carries no NVENC, and the server encodes in software without telling you.
Intel or AMD
Pass the host’s render and video group IDs into the container:
curl -fsSLO https://quven.tv/docker/1.5.7/compose.vaapi.yaml
echo 'QUVEN_RENDER_GID='"$(getent group render | cut -d: -f3)" >> .env
echo 'QUVEN_VIDEO_GID='"$(getent group video | cut -d: -f3)" >> .env
docker compose -f compose.yaml -f compose.vaapi.yaml config
docker compose -f compose.yaml -f compose.vaapi.yaml up -d
If the right GPU isn’t /dev/dri/renderD128, set QUVEN_DRI_RENDER_DEVICE in .env, with the same path inside and outside the container.
Raspberry Pi or other ARM boards
This is an advanced setup, and the base service already plays most libraries well. Hosts that expose V4L2 M2M codecs can use compose.v4l2m2m.yaml. A Raspberry Pi 4 can also add compose.raspberry-pi.yaml for HEVC Request API decode. Both profiles need the real device paths the system reports and refuse to start when the setup is incomplete.
Inspect the interfaces first, and never expose all of /dev:
v4l2-ctl --list-devicesScan new files automatically
Open Settings, then the Server tab, then the Automatic scanning card. It comes with Pro, Max and Lifetime and has four switches, all applied when you save, with no restart:
- Detect new files in the folders: starts an incremental scan about thirty seconds after the last file stops changing. It never forces a rematch or spends an AI credit.
- Periodic scan: scans every library once a day unless you pick another interval, and skips a library that is already being scanned.
- Save each book’s cover beside its file: writes the cover next to the book under the same name,
Dune.jpgbesideDune.epub, and keeps an image already in the folder. - Save each album’s cover in its folder: writes the cover the recordings carry as
cover.jpg, unless the folder already holds an image.
A bind mount of a local disk is watched directly. A share mounted over SMB or NFS can’t be watched, because the kernel can’t see what another machine writes there, so Quven compares those folders against their last snapshot every five minutes and the card shows polling. A folder that reads as unreachable is one the container can’t open at that path, and the row’s tooltip says why. After moving a whole folder, run a manual scan.
Upgrade
-
Note the digest in use, so you know what you would be going back to.
-
Stop the service and copy the data volume,
.envand the Compose files. Never delete them during an update or a rollback. -
Pull and start the current release:
docker compose stop docker volume ls --filter name=quven-data docker run --rm -v <volume-name>:/data -v "$PWD":/backup alpine tar czf /backup/quven-data.tgz -C /data . docker compose pull docker compose up -d -
Check health, then play one direct-play title and one that must transcode.
A release can change the database schema, and an older image can’t read a database a newer one has already migrated. Going back to an earlier digest in QUVEN_IMAGE therefore means restoring the database too, from your own copy of the volume or from the snapshot the server writes under backups/quven-pre-migration-<timestamp>.db inside it before a schema change. Only the latest snapshot is kept, since each new one replaces the one before.
Verify what you run
The image is signed and carries an SPDX attestation:
curl -fsSLO https://quven.tv/docker/1.5.7/cosign-public-key.pem
cosign verify --key cosign-public-key.pem ghcr.io/nickayl/quven:latest
cosign verify-attestation --key cosign-public-key.pem --type spdxjson ghcr.io/nickayl/quven:latest
The public 1.5.7 manifest holds the image-index digest and each platform digest. Keep it beside the configuration you approved.
Frequently asked questions
Can I run it with Docker Desktop?
No. Docker Desktop provides neither host networking nor LAN discovery, so you need Docker Engine on Linux with Docker Compose v2.
Should I pin the version or follow latest?
Follow latest. Each release fixes problems found in the earlier ones, and a pinned tag keeps every one of them. The manifest of each release records its digest, so you can always tell what a pull installed.
Will Quven write to my media folder?
Only the subtitles it generates, beside the film they belong to, and the covers of books and albums once you turn on the two cover switches of the Automatic scanning card. A scan writes nothing else. Set QUVEN_MEDIA_READ_ONLY=true in .env to stop even that, and Quven keeps them in its own volume.
Does hardware transcoding work in Docker?
Yes, on every plan. Each kind of hardware has its own profile, so play one title on the base service and then add the one that matches your host.
Which hardware profile do I add?
One, and only after you’ve seen the matching interface on the host. Several at once produce a configuration that looks convenient and fails on the first difficult file.